Growing up, my all time favorite movie was The Princess Diaries.
The movie came out when I was 6 years old.
When I first saw it, I was majorly in the middle of my princess phase. Still holding out hope that I'm royal.
The movie came out when I was 6 years old.
When I first saw it, I was majorly in the middle of my princess phase. Still holding out hope that I'm royal.
Anyways. Remember this scene?! Bucket list worthy.
Well, I decided to start ticking things off of that list!
I fell in love with the following balloon painting:
Source: My Good Morning
This is definitely a different style than the movie, and I plan on eventually making both styles.
Ok, let's get started!
Gather the following supplies:
[I really using suggest all of these. Hint: I didn't]
-A canvas
-Tons of drop clothes
-Lots of coordinating paint colors
-Lots of balloons (I used about 16, but suggest more)
-Darts
-Pins
- Metal Key Ring (optional)
- Metal Key Ring (optional)
I cut down costs by DIY-ing my own canvas. I simply put two layers of indoor wall paint on an inexpensive piece of cotton fabric. After it dried, I stretched and stapled it to a thrifted bulletin board. Not perfect, but hey! It's going to be covered in splattered paint anyways!
Next is the setup. This involved lots of sheets/ drop-cloths around my workshop to cover things that couldn't get paint on them. Even if things are far away, don't take the risk. Paint flies, people!
BUT if you do it outside, you really only need one underneath.
Outdoors wasn't an option for me at this time, but I feel like that'd be much better! Splatter prevention and all.. hehe.
The next step is to fill your balloons with paint.
First, blow up your balloons a bit to stretch them out before filling with paint.
Here is where the key ring comes into use.
This created a bigger hole, and helped prevent paint ingestion...
OOOO. They paint in the balloon looked pretty cool in person...
Experiment with a variety of color combinations, amounts of paint, and amount of air in the balloons.
Then, randomly arrange your balloons and pin them to your canvas.
Then comes the fun part!!
Confession time. I didn't actually use darts. I couldn't find any, and was too lazy/cheap to go buy some.
I first attempted a Macgyver dart, made with a pencil, eraser, and pin.
I don't think it was exactly heavy enough or something. It kinda just bounced off of the balloons.
After chucking 3 random pointy things at the canvas (my mother's suggestions!), I gave up.
SO! Solution time!
Macgyver dart was back, but not really as a dart. Prepare to be splattered, people!
This involved a bit of hiding behind the drop cloth. Didn't do much in the splatter avoidance.
After all the balloons were popped, I did a little splattering to add a bit more color.
Macgyver dart was preeeetty afterwards :D
And so were my hands.
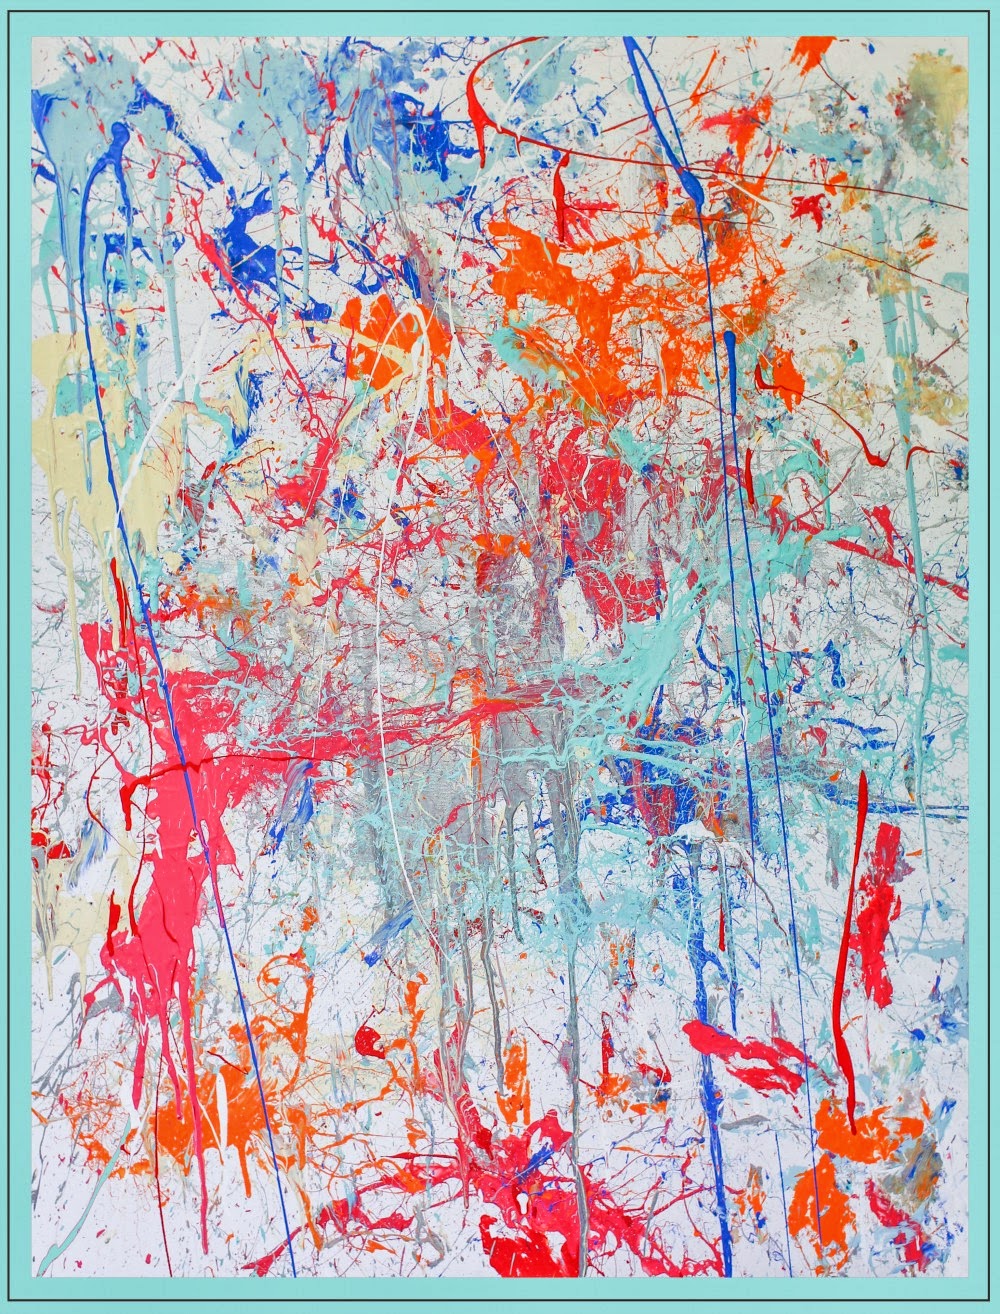
TADA! Finished piece.
I apologize for the lack of nice staged photos. They'll be coming eventually!
This thing was still wet when I drove back to school.


SO FUN! I went and saw the Princess Diaries in the theater on my 12th birthday (now I feel kind of old... that was a while ago!) and always loved that scene too! I can't believe I never tried to recreate it - I love the way yours turned out and this is definitely going on my to-do list!
ReplyDeleteP.S. I love all the animated process shots - perfect!
I highly recommend it! Tons of fun! Darts, though. They might be a good idea. :)
DeleteThis is so awesome and looks like so much fun (and I know I was NOT 6 years old when the movie came out, gosh I'm old :(
ReplyDeleteOh, I'm just young! :) Haha, thanks!
Delete